HOLD ON IT'S A LONG POST WITH LOT'S OF IDEAS .. LOL.
Next on the todo list was the food! I had to do a fun sign "Caden's Snack Bar" and served the food in dog bowls like Gru served candy and water to the girls in the first movie. I found the ideas of the snack bar sign and the shrunken moons on One Lucky Pickle, she has some great ideas for a Despicable me party check it out!
I made the sign using my Cricut (Personal Electronic Cutting Machine) and my George and Basic Shapes Cartridge.

Here is how I did the sign:
I made ovals for the minions (cutting off the bottom and sides)
Circles for the eyes and added a google eye
I made a "I" for the eye strip
And made his name in 2 colors to make it pop
Glue it all on with your craft glue.
Board found at the dollar tree.

Close up of the Sign:


For the food I found these simple Food Tents on Family Shopping Bag. I took her template pasted into word doc and added some fun food names using the Minion font I downloaded.

Agne's Caterpillers
(AKA Cheese Puffs)
I'll show the how to do the bucket in a post soon.

Cookie Robots
(aka Chocolate Chip Cookies)
Recipe on this POST HERE

Dr. Nefario's Brew
(aka Sprite and Blue Raspberry juice)

El Machio's Salsa and Chips
(AKA Salsa and Chips)

Gru's Guacamole
(aka Guacamole)

Shrunken Moon Pops

Cake Pops dipped in White Candy Melts
Sprayed with Wilton Silver Color Mist
One can ONLY did half so we had half dark side of the moon ... lol
ONE thing I've learned is on the cake pops it is easiest
to use a box cake and frosting in a can.
NOW you know this kills me but they always turn out best.

Unicorn Fur
(aka Cotton Candy)

Vector's Coconutties
(aka Coconut Cookies)
Recipe found on this POST HERE

Cupcakes 2 Versions
Recipes and how to found on this POST HERE


My AMAZING friend April carved a minion Watermelon
and stuffed it with fun fruit

S'More Bar
My parents have a fire pit at the waterfront
we end ALL parties with a bon fire and S'Mores :)

And for to wipe our mouths and eat the food with
I made Minion Napkin Rings

What you Need:
Yellow Napkins (Dollar Tree)
Blue Utensils (Dollar Tree)
Black Heavy Card Stock (cut into strips)
Googly Eyes (Dollar Tree)
How to make:

My Despicable Me Printables I put together click HERE.
Don't forget to see the parties I link up to HERE.
Despicable Me Birthday Done:
Minion Invites
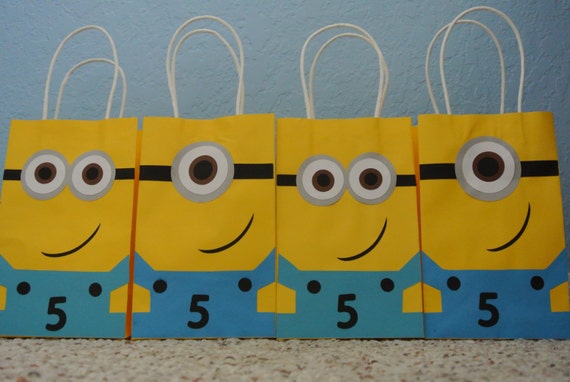
Minion Treat Gift Bags
Minion Paper Cups
Minion Cupcakes (2 Versions)
Minion Cake
Vector's Coconutties and Cookie Robots
Despicable Me Perler Bead Characters
Despicable Me Snack Bar and Food Ideas
Despicable Me Goody Bag Items
Despicable Me Minion Bucket
Box of Shame
Squid Launcher's and Welcome Sign
Minion Invites
Minion Treat Gift Bags
Minion Paper Cups
Minion Cupcakes (2 Versions)
Minion Cake
Vector's Coconutties and Cookie Robots
Despicable Me Perler Bead Characters
Despicable Me Snack Bar and Food Ideas
Despicable Me Goody Bag Items
Despicable Me Minion Bucket
Box of Shame
Squid Launcher's and Welcome Sign