Next on my list was a Minion Cake, I found this easy design on my bestie's site Betty Crocker ... What I swear I know her after all she's been a part of my baking idea's for years .. LOL. I of course made this cake my own with a few tweaks, I'm all about what I have on hand instead of buying something. I would have done fondant but I was running a bit behind this year but I think it turned out great even with just frosting.

What You Need:
Baked Cake
Frosting (Yellow, Blue and White)
Black Twizzlers's
Black licorice String (I use Wilton)
Mint Patty
Tootsie Roll
Large Chocolate chips (I used Wilton Melts)
Large Candy Eye
Silver Dust
I made my favorite Homemade Yellow Cake mix, always use Cake release it helps so much to get the cake out of the pan. Once the cake has cooled you're going to trim it into your minion shape. I then took a twizzler to map out where I was going to make my overalls. I took my yellow frosting to make the top part of my minion. Then added the blue for the overalls. I added 2 Wilton Melts to make the buttons on the overalls. I added a little licorice strong to make an outline of the overalls. For the glasses I used black twizzlers and filled in with licorice string. For the eye I took a Large tootsie roll and shaped it into a circle. I like mine better then using small and piecing together. The large had the marks to make it look like a real eye glass. For the eye itself I took a mint patty and then I realized I didn't save any WHITE frosting. So I didn't panic I just opened up some oreo cookies and stole the cream frosting and molded it .. lol YUP I so did that! I then added a LARGE candy eyeball. I added a little licorice string for the mouth and hair.

My Despicable Me Printables I put together click HERE.
Don't forget to see the parties I link up to HERE.
Despicable Me Birthday Done:
Minion Invites
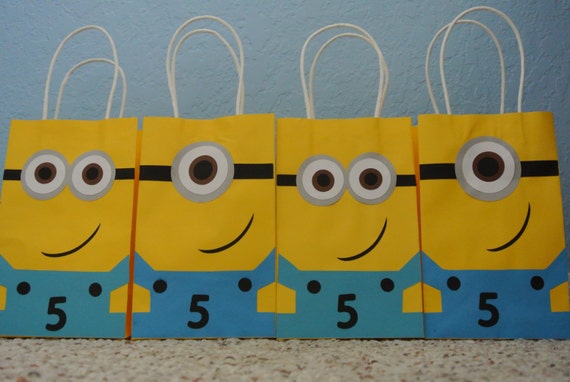
Minion Treat Gift Bags
Minion Paper Cups
Minion Cupcakes (2 Versions)
Minion Cake
Vector's Coconutties and Cookie Robots
Despicable Me Perler Bead Characters
Despicable Me Snack Bar and Food Ideas
Despicable Me Goody Bag Items
Despicable Me Minion Bucket
Box of Shame
Squid Launcher's and Welcome Sign
Minion Invites
Minion Treat Gift Bags
Minion Paper Cups
Minion Cupcakes (2 Versions)
Minion Cake
Vector's Coconutties and Cookie Robots
Despicable Me Perler Bead Characters
Despicable Me Snack Bar and Food Ideas
Despicable Me Goody Bag Items
Despicable Me Minion Bucket
Box of Shame
Squid Launcher's and Welcome Sign